Blog Post Title: At-Home Insemination Kits: A Step-by-Step Guide
Are you and your partner considering starting a family, but facing challenges with traditional conception methods? At-home insemination kits may be a viable option for you. With the advancement of technology, these kits have become more accessible and affordable, allowing couples to take their fertility into their own hands. In this blog post, we will provide a step-by-step guide on how to use at-home insemination kits and discuss their benefits and potential risks.
Step 1: Understand the Basics
Before embarking on the journey of using an at-home insemination kit, it is essential to have a basic understanding of the process. Insemination is the introduction of sperm into a female’s reproductive tract, with the aim of fertilizing an egg. This process can be done in a medical setting, such as a fertility clinic, or at home using an insemination kit. The kit consists of a syringe, a vial containing sperm, and instructions on how to perform the procedure.
Step 2: Choose the Right Kit
When it comes to at-home insemination kits, there are various options available in the market. It is crucial to do thorough research and choose a reputable and reliable brand. Look for kits that have been approved by medical professionals and have positive customer reviews. Additionally, consider the type of sperm included in the kit – fresh or frozen. Fresh sperm has a shorter lifespan, while frozen sperm can last longer. Choose the option that best suits your needs and budget.
Step 3: Prepare the Environment
Creating a comfortable and sterile environment is essential for a successful insemination. Choose a quiet and private area in your home, preferably a bedroom or bathroom. Sterilize all the equipment included in the kit, such as the syringe, by boiling it in hot water for a few minutes. This step is crucial to prevent any bacteria from entering the reproductive tract.
At-Home Insemination Kits: A Step-by-Step Guide
Step 4: Follow the Instructions
Each at-home insemination kit comes with detailed instructions on how to perform the procedure. It is crucial to follow these instructions carefully to ensure the best chances of success. Typically, the instructions will require you to place the sperm vial in warm water for a few minutes before using it. Then, attach the syringe to the vial and draw the sperm into the syringe.
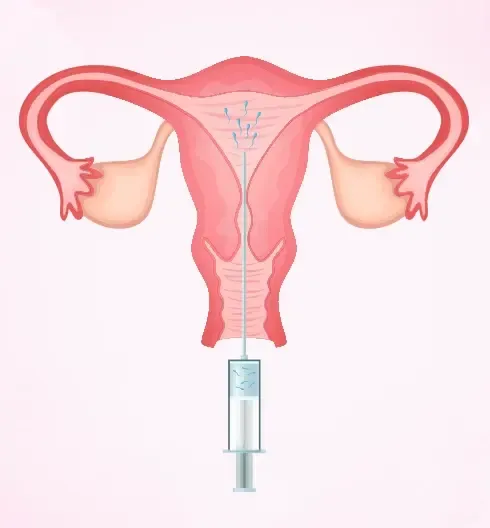
Step 5: Position and Insert the Syringe
Once the sperm is in the syringe, you will need to insert it into the vagina. It is recommended to use a lubricant to make the process more comfortable. The most effective position for insemination is to lie on your back with your hips slightly elevated. Slowly insert the syringe into the vagina and release the sperm near the cervix. Remain in this position for at least 20 minutes to allow the sperm to travel towards the cervix and increase the chances of fertilization.
Step 6: Rest and Monitor
After the insemination, it is essential to rest for a few hours and avoid any strenuous activity. It can take up to 48 hours for the sperm to reach the fallopian tubes and fertilize an egg. During this time, it is crucial to monitor your body for any signs of ovulation, such as changes in cervical mucus or slight cramping. These signs can help determine the most fertile time for insemination.
Benefits of At-Home Insemination Kits
Using at-home insemination kits has several benefits, including privacy, cost-effectiveness, and convenience. Many couples prefer this method as it allows them to take control of their fertility journey in the comfort of their own home. It is also a more affordable option compared to fertility clinics, which can be costly. Additionally, the process can be done at a time that suits the couple’s schedule, making it more convenient.
Potential Risks
While at-home insemination kits have proven to be successful for many couples, there are some potential risks to consider. The main risk is the lack of medical supervision, which can lead to incorrect procedures or infections. It is crucial to follow the instructions carefully and seek medical advice if any issues arise. It is also essential to ensure that the sperm used in the kit is from a reputable and tested source to avoid any potential health risks.
In conclusion, at-home insemination kits can be a suitable option for couples struggling with traditional conception methods. By following the step-by-step guide mentioned above, couples can increase their chances of success and take control of their fertility journey. However, it is crucial to research and understand the process thoroughly and seek medical advice if needed. With the right preparation and precautions, at-home insemination kits can be a viable and cost-effective option for starting a family.